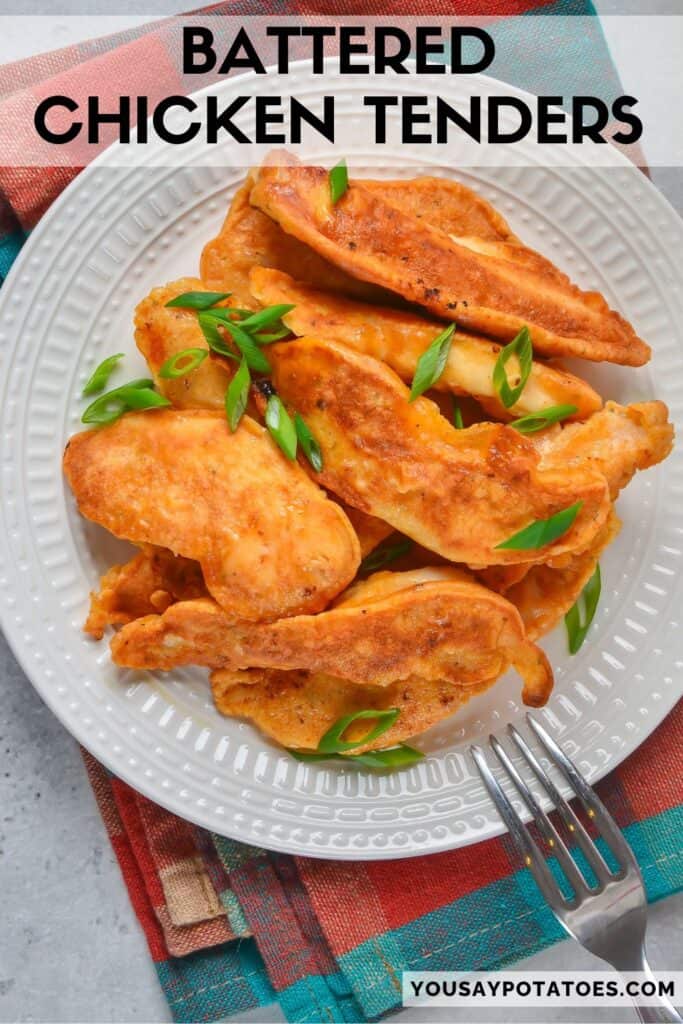
Make restaurant-style Crispy Battered Chicken Tenders at home with buttermilk, flour, and simple spices. The pan-fried tenders are golden, crunchy, and ready in minutes!
These battered chicken tenders are crispy on the outside, juicy in the middle, and packed with smoky, savory flavor from paprika, garlic, cumin, and oregano.
The simple double-dip batter method creates a craggy coating that fries up golden and crunchy without needing breadcrumbs.
This recipe keeps things manageable for home cooks.
The coating is light enough to stay crisp instead of doughy, but substantial enough to give you that crunchy fried chicken texture people want.
The buttermilk adds tang and helps tenderize the chicken, while the spice blend gives the crust depth without making it aggressively spicy.
I especially like serving these for casual dinners because they work with almost anything. They fit into family meals, game nights, lunch wraps, and even salads.
If you have picky eaters, you can leave the spices mild. If you like heat, cayenne or hot sauce can easily be added. The recipe gives you a solid base that can go in several directions.
We love serving them up for dinner with side dishes like Spicy Air Fryer Potato Wedges or Gruyere Au Gratin Potatoes.
For a game day or party, we pile them high and serve them up with dips, like Mexican Ranch Dip, or even a zesty Lime Crema!
Jump to:

Why You Should Make This Recipe
- The batter creates a crisp coating without needing breadcrumbs or specialty ingredients.
- Buttermilk keeps the chicken juicy while adding subtle tangy flavor.
- Pan frying uses less oil than deep frying while still producing crunchy chicken tenders.
- The seasoning blend gives the coating smoky, savory depth without overpowering the chicken.
- Chicken tenders cook quickly, making this a practical weeknight comfort food recipe.
- These tenders work for children and adults because the spice level is easy to adjust.
- Leftovers can be used in wraps, sandwiches, salads, and rice bowls.
- Homemade chicken tenders let you control salt levels and ingredient quality.
- The recipe uses affordable pantry staples and simple cooking techniques.
- Freshly fried chicken tenders taste noticeably better than frozen store-bought versions.
Ingredients
- Chicken breasts. Chicken breast strips cook quickly and stay tender when fried properly. Chicken tenderloins also work very well here.
- Buttermilk. Buttermilk tenderizes the chicken and helps create a textured crispy crust.
- All-purpose flour. Flour forms the base of the crispy batter. If you want extra crunch, you can replace a small portion with cornstarch.
- Garlic powder. Garlic powder evenly flavors the coating without adding moisture that could affect crispness.
- Smoked paprika. Smoked paprika gives the batter warmth and a subtle smoky flavor. Regular paprika can be used if needed.
- Dried oregano. Oregano adds a savory herbal note that balances the richness of fried chicken.
- Ground cumin. Cumin gives the coating earthy depth and makes the flavor slightly more interesting than standard chicken tenders.
- Salt. Salt seasons both the coating and the chicken itself.
- Black pepper. Black pepper adds mild heat and balances the richness of frying oil.
- Eggs. Eggs help bind the batter and improve coating adhesion during frying.
- Vegetable oil. Neutral oil with a high smoke point works best. Canola, sunflower, or peanut oil are all good choices.
See the recipe card for the full method and quantities.
Instructions
If you're wondering how to make this buttermilk battered chicken tenders recipe, don't worry, it's easy!
Just follow this step-by-step photo tutorial. Then scroll down to the recipe card for the full ingredients list and recipe method.
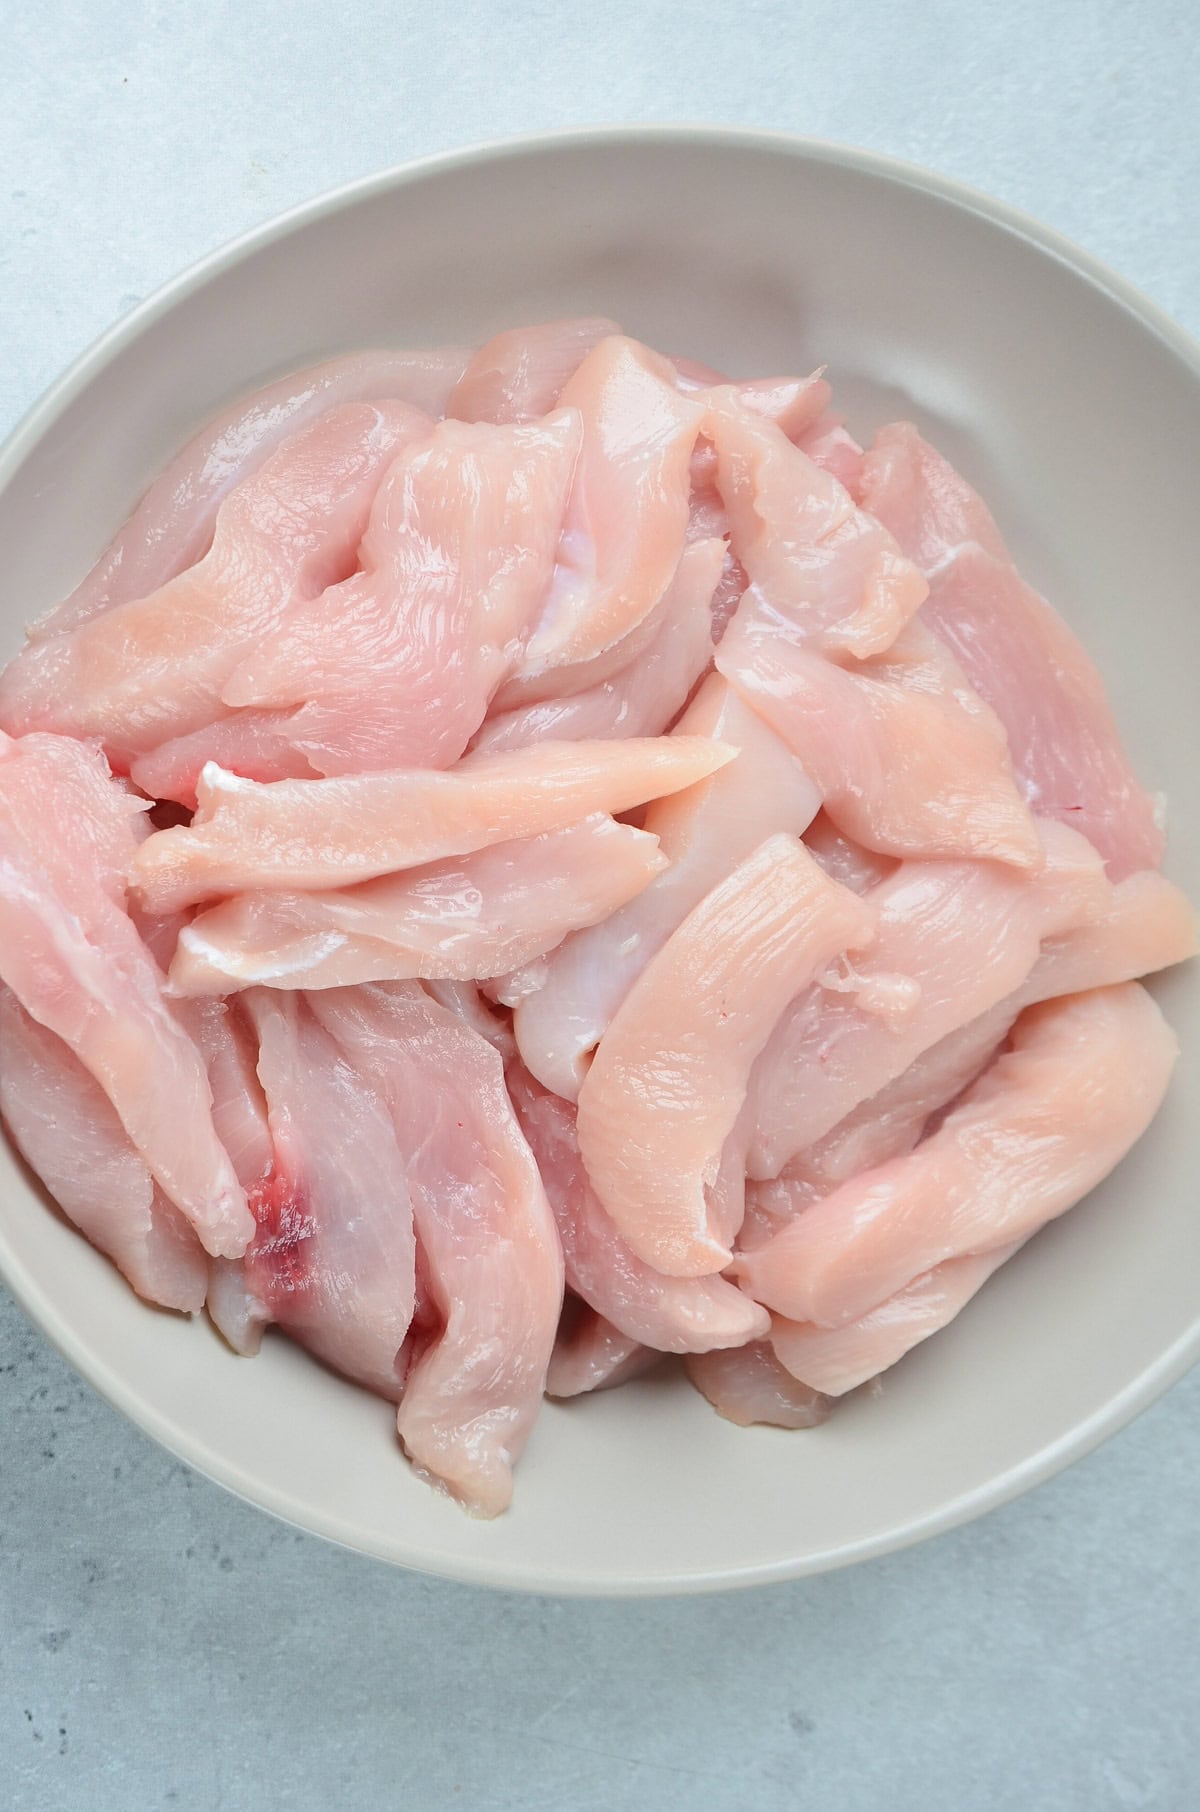
Cut the chicken breasts into strips (tenders).
In a shallow bowl, whisk together the all-purpose flour, garlic powder, paprika, cumin, oregano, salt, and black pepper.
In a separate bowl, whisk together the buttermilk, and eggs until well combined.
Heat vegetable oil in a large skillet or frying pan over medium heat. You want enough oil to cover the bottom of the pan by about ½ inch.
Take one chicken tender at a time and dip it into the dry batter mixture, coating it evenly. Shake off any excess flour.
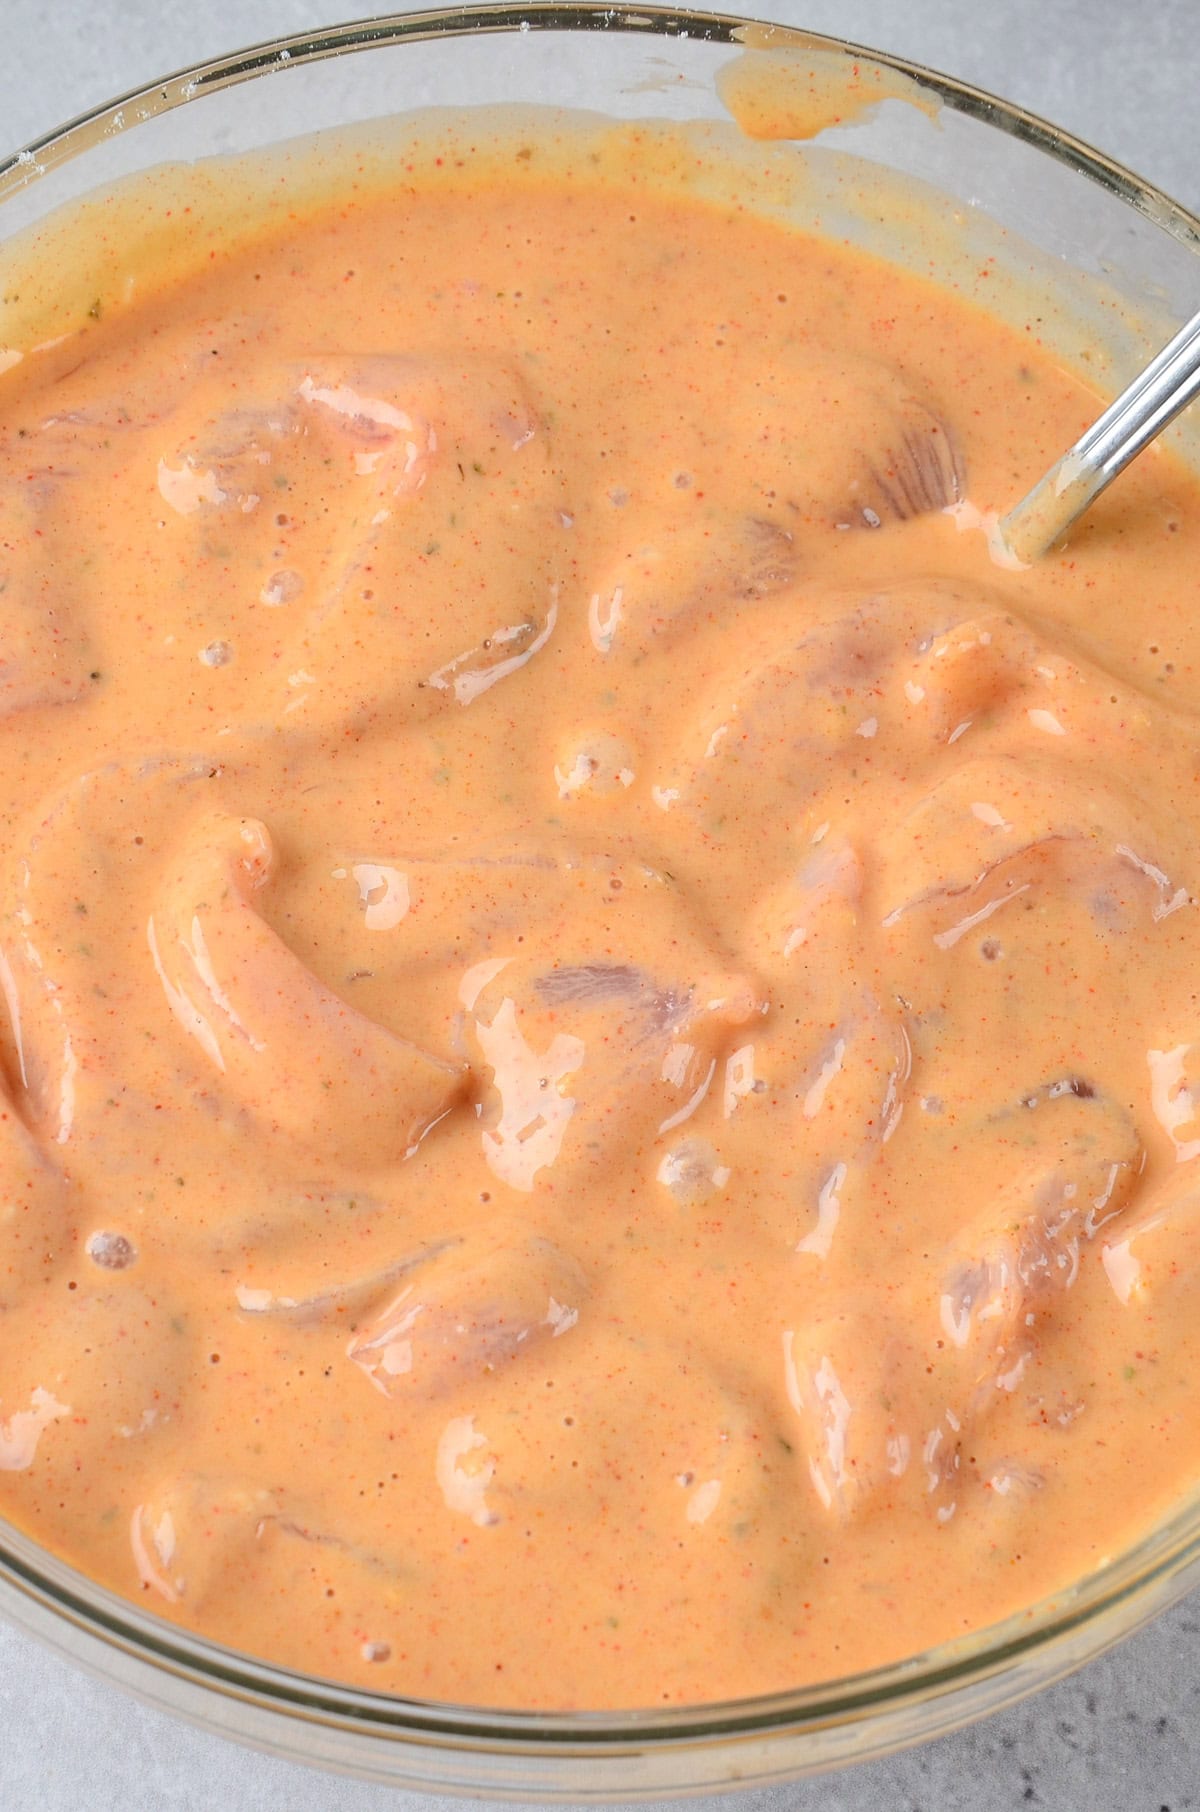
Dip the coated chicken tender into the wet batter mixture, making sure it's fully coated.
Carefully place the battered chicken tender into the hot oil. Repeat the process with a few more tenders, making sure not to overcrowd the pan.
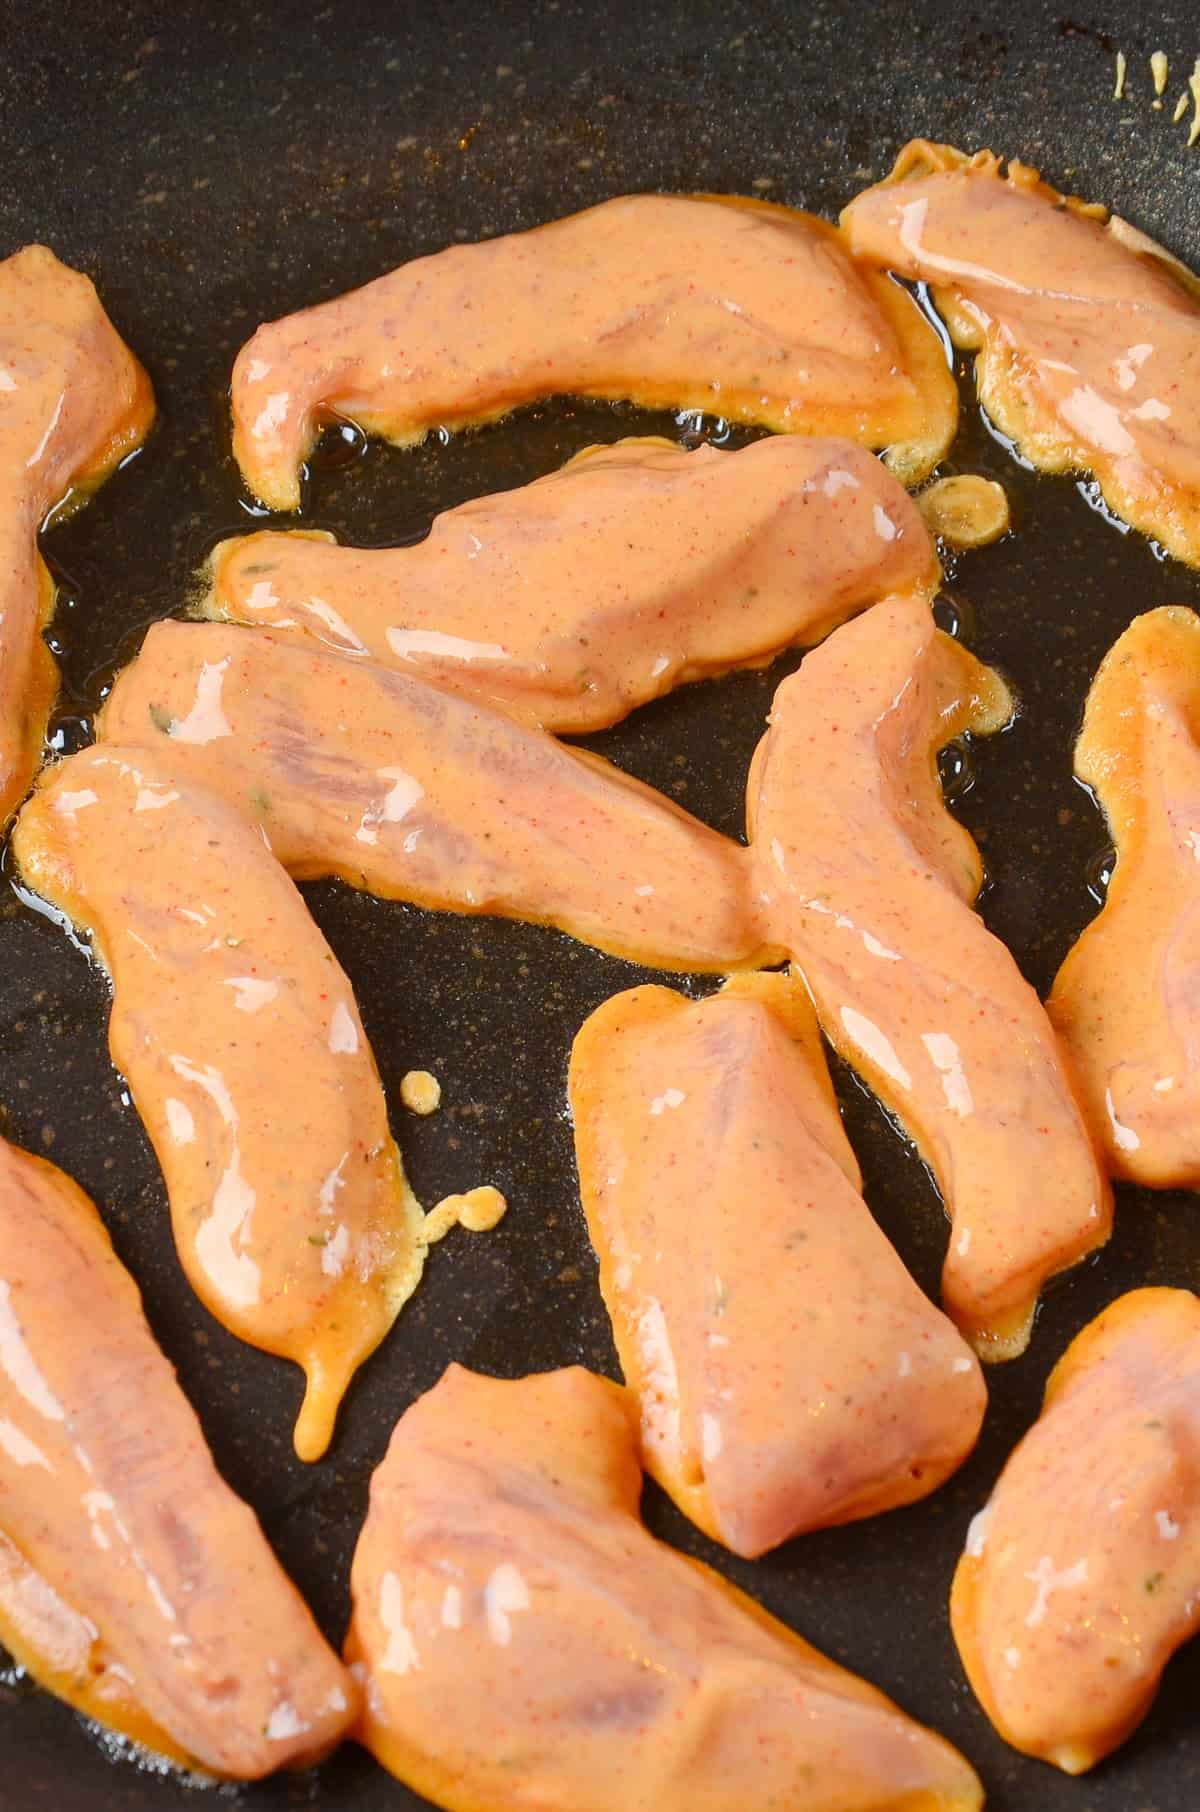
Cook the chicken tenders for about 3-4 minutes on each side, or until they are golden brown and cooked through. The internal temperature should reach 165°F (74°C).
Remove the cooked chicken tenders from the pan with metal tongs and place them on a paper towel-lined plate to drain any excess oil.
Repeat with the remaining chicken tenders, adding more oil to the pan if necessary.
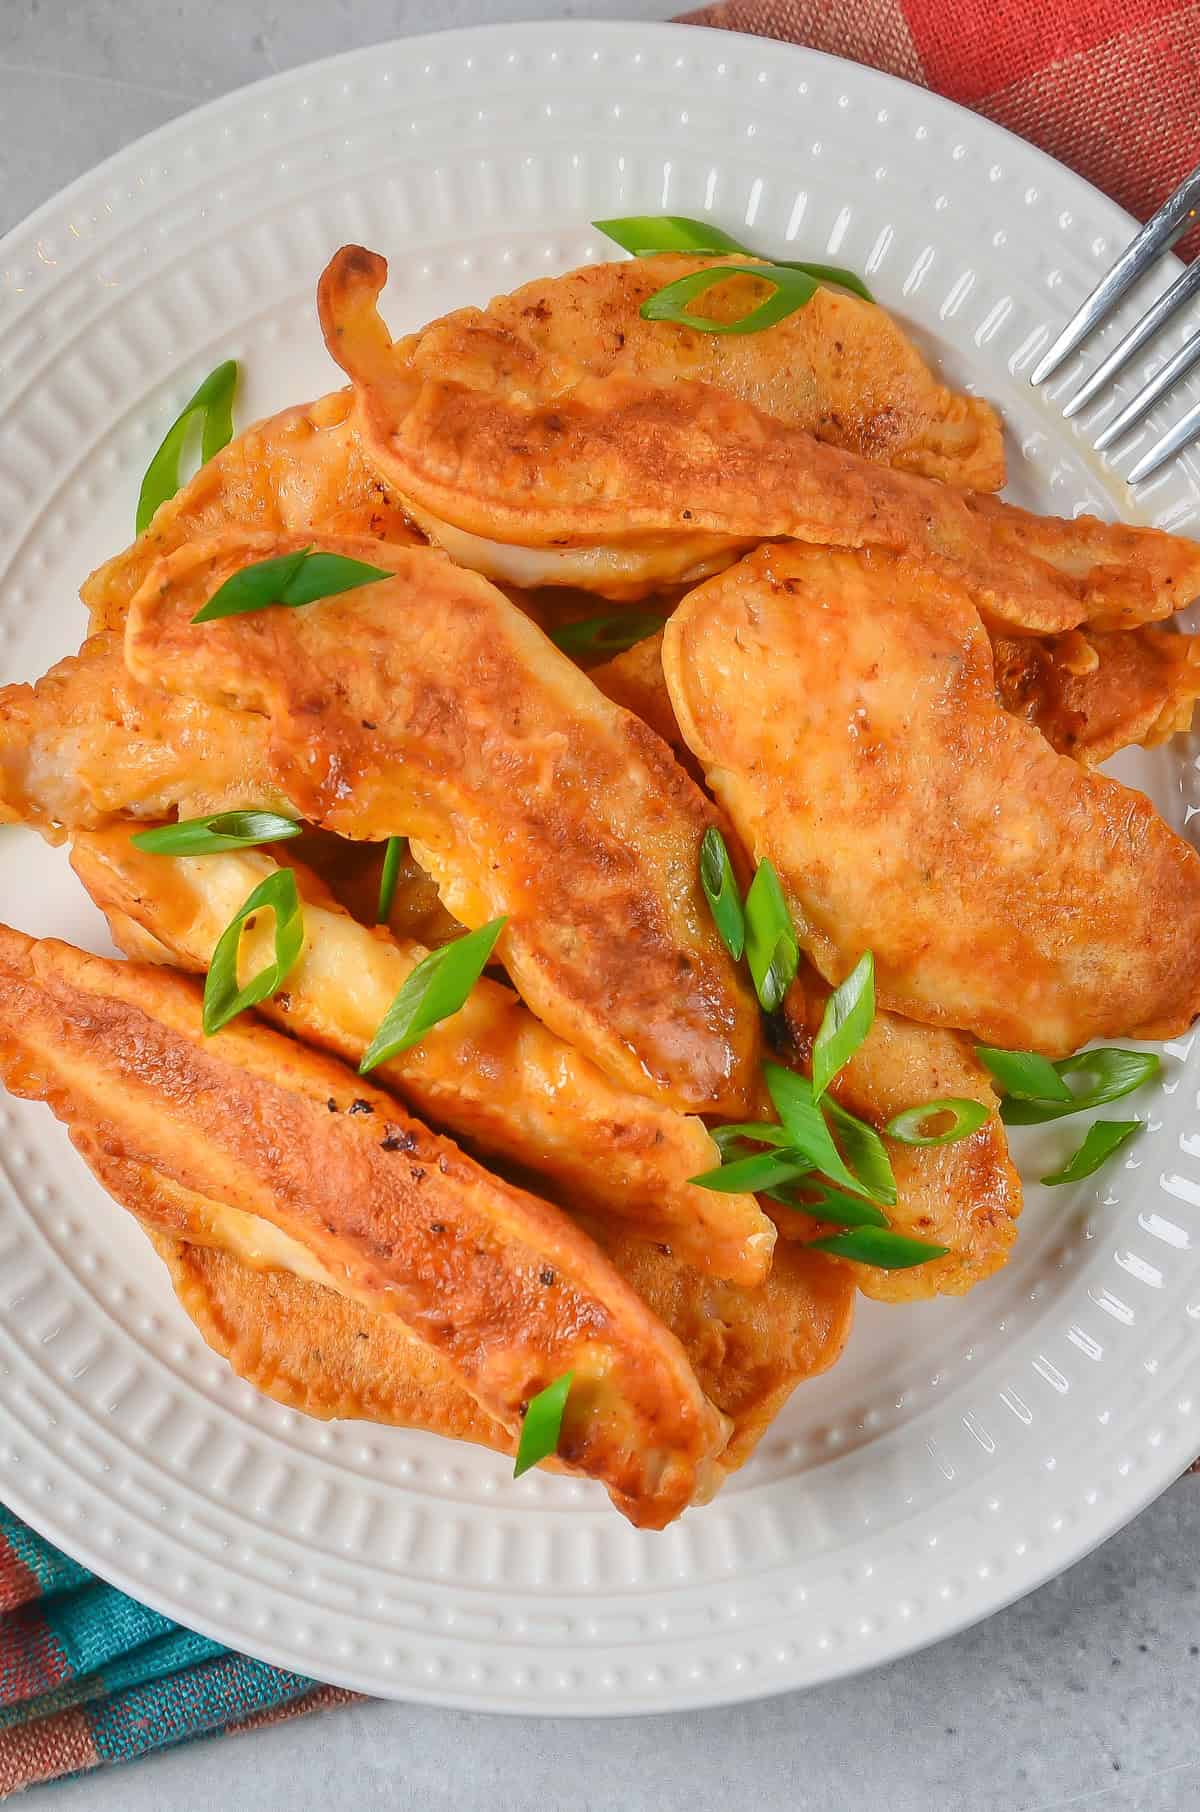
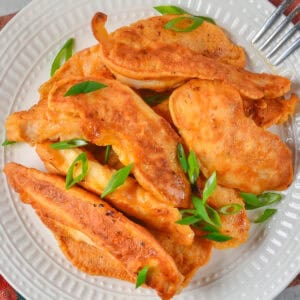
Serve the stovetop battered chicken tenders hot with your favorite dipping sauce, such as barbecue sauce, honey mustard, or ranch dressing.

Variations
- Add cayenne pepper for spicy chicken tenders.
- Mix grated parmesan into the flour for a savory cheesy crust.
- Use chicken thighs instead of chicken breasts for richer flavor.
- Add hot sauce to the buttermilk mixture.
- Replace oregano with Italian seasoning.
- Use gluten-free flour blend for gluten-free chicken tenders.
- Add cornstarch for extra crisp texture.
- Try pickle juice in the marinade for tangier fried chicken.
- Use panko breadcrumbs after the wet batter for extra crunch.
- Add chili powder and cumin for Tex-Mex style chicken strips. Include onion powder for deeper savory flavor.
- Make them in an air fryer after lightly spraying with oil.
- Add lemon pepper seasoning for brighter flavor.
- Use smoked chili flakes for subtle heat.
- Turn them into chicken nuggets by cutting smaller pieces.
Recipe Tips
- Ensure Proper Oil Temperature: To achieve perfectly crispy chicken tenders, make sure the oil is heated to the right temperature before frying. Use a thermometer to monitor the oil, aiming for a temperature of around 350°F (175°C).
- Avoid Overcrowding the Pan: Fry the chicken tenders in batches, making sure not to overcrowd the pan. Overcrowding can lower the oil temperature and result in less crispy tenders.
- Shake Off Excess Flour: After coating the chicken tenders in the dry batter mixture, shake off any excess flour. This will prevent the tenders from becoming clumpy when dipped in the wet batter.
- Use Tongs for Safe Handling: When transferring the cooked chicken tenders from the pan, use metal tongs. They provide a secure grip and help drain excess oil.
Serving Suggestions
- Serve with French fries and coleslaw or copycat KFC Macaroni Salad.
- Slice into wraps with lettuce and ranch dressing or Greek Tzatziki Sauce.
- Add to Caesar salad for crispy protein.
- Serve with waffles and hot honey.
- Pair with macaroni and cheese - try Super Creamy Velveeta Mac and Cheese.
- Serve in burger buns with pickles and mayo.
- Add to rice bowls with vegetables.
- Serve with roasted potatoes and corn.
- Pair with biscuits and gravy for Southern-style comfort food. Try it with White Country Gravy (Milk Gravy).
- Serve on a platter with dipping sauces for parties.
- Add to a picnic spread with potato salad.
Best Dipping Sauces
- Honey mustard
- Ranch dressing
- Guinness barbecue sauce
- Mexican Ranch Dip
- Taco Bell Chipotle Sauce
- Bacon Aioli
- Hot honey
- Wingstop Ranch
- Dill Dip
- Blue cheese dressing
- Sweet chili sauce
Storage, Freezing, Make-Ahead Advice
Storage
Store leftover chicken tenders in an airtight container in the fridge for up to 3 days. Let them cool fully before refrigerating so steam does not soften the coating.
Reheating
For the crispiest texture:
- Reheat in a 400°F oven for about 10 minutes.
- Use an air fryer for 5 to 7 minutes.
- Avoid microwaving if possible because the coating softens quickly.
Freezing
You can freeze cooked chicken tenders for up to 2 months.
- Cool completely first.
- Freeze on a tray before transferring to freezer bags.
- Reheat directly from frozen in the oven or air fryer.
Make-Ahead Advice
You can cut the chicken and mix the dry ingredients ahead of time. The buttermilk mixture can also be whisked together several hours in advance and refrigerated.
If you want deeper flavor, marinate the chicken in buttermilk for a few hours before coating and frying.
Recipe Tips
- Keep the chicken strips similar in size so they cook evenly.
- Let excess wet batter drip off before frying to prevent heavy coating.
- Use a thermometer if possible. Oil around 350°F gives the best crisp texture.
- Fry in batches so the oil temperature stays steady.
- Rest cooked tenders briefly on a wire rack to maintain crispness.
- If using frozen chicken, thaw completely and pat dry before coating.
- Avoid moving the chicken too early while frying or the coating can separate.
Battered Recipes


FAQs
While baking the chicken tenders can result in a healthier option, it may not achieve the same level of crispiness as frying. If you choose to bake them, preheat the oven to 425°F (220°C) and bake for approximately 20-25 minutes, flipping halfway through.
Usually the oil temperature is too low or the pan is overcrowded. If the oil cools too much, the coating absorbs oil instead of crisping.
The safest method is using a thermometer. Chicken should reach 165°F internally. The coating should also be deep golden brown.
📖 Recipe
Battered Chicken Tenders
Equipment
- Bowl
- Skillet
Ingredients
- 1 ½ pounds chicken breasts
- 1 cup all-purpose flour
- 1 teaspoon garlic powder
- 1 teaspoon smoked paprika
- ½ teaspoon dried oregano
- ½ teaspoon ground cumin
- ½ teaspoon salt
- ¼ teaspoon black pepper
- 1 cup buttermilk
- 2 eggs
- vegetable oil for frying
Instructions
- Cut the chicken breasts into strips (tenders).
- In a shallow bowl, whisk together the all-purpose flour, garlic powder, paprika, cumin, oregano, salt, and black pepper.
- In a separate bowl, whisk together the buttermilk, and eggs until well combined.
- Heat vegetable oil in a large skillet or frying pan over medium heat. You want enough oil to cover the bottom of the pan by about ½ inch.
- Take one chicken tender at a time and dip it into the dry batter mixture, coating it evenly. Shake off any excess flour.
- Dip the coated chicken tender into the wet batter mixture, making sure it's fully coated.
- Carefully place the battered chicken tender into the hot oil. Repeat the process with a few more tenders, making sure not to overcrowd the pan.
- Cook the chicken tenders for about 3-4 minutes on each side, or until they are golden brown and cooked through. The internal temperature should reach 165°F (74°C).
- Remove the cooked chicken tenders from the pan with metal tongs and place them on a paper towel-lined plate to drain any excess oil.
- Repeat with the remaining chicken tenders, adding more oil to the pan if necessary.
- Serve the stovetop battered chicken tenders hot with your favorite dipping sauce, such as barbecue sauce, honey mustard, or ranch dressing.
Notes
Storage
Store leftover chicken tenders in an airtight container in the fridge for up to 3 days. Let them cool fully before refrigerating so steam does not soften the coating.Reheating
For the crispiest texture:- Reheat in a 400°F oven for about 10 minutes.
- Use an air fryer for 5 to 7 minutes.
- Avoid microwaving if possible because the coating softens quickly.
Freezing
You can freeze cooked chicken tenders for up to 2 months.- Cool completely first.
- Freeze on a tray before transferring to freezer bags.
- Reheat directly from frozen in the oven or air fryer.
Make-Ahead Advice
You can cut the chicken and mix the dry ingredients ahead of time. The buttermilk mixture can also be whisked together several hours in advance and refrigerated. If you want deeper flavor, marinate the chicken in buttermilk for a few hours before coating and frying.Recipe Tips
- Keep the chicken strips similar in size so they cook evenly.
- Let excess wet batter drip off before frying to prevent heavy coating.
- Use a thermometer if possible. Oil around 350°F gives the best crisp texture.
- Fry in batches so the oil temperature stays steady.
- Rest cooked tenders briefly on a wire rack to maintain crispness.
- If your coating falls off, press the flour mixture firmly onto the chicken before dipping.
- Add a tablespoon of cornstarch to the flour mixture for a lighter crunchier crust.
- If using frozen chicken, thaw completely and pat dry before coating.
- Avoid moving the chicken too early while frying or the coating can separate.
- Season the chicken lightly before coating for more flavor throughout.
Nutrition
The nutritional information provided is approximate and can vary depending on several factors, so is not guaranteed to be accurate. Please see a registered dietician for special diet advice.

Dina and Bruce says
These are killer! The cumin gave them a great flavor! Yum!
Andrea says
They were good. I cooked them in the deep fryer and they were very crispy.
Betty says
These were so good! I loved the coating, and I love how crispy they are.
Tara says
Oh yum! These chicken tenders were so good, especially with the addition of the tangy buttermilk.
Suzana says
My family devoured them! Brought them to a family cookout with a big dish of ranch dip.
Kelly Marks says
really liked this recipe. the spices worked well together without anything being overwhelmed. there was too much leftover egg and buttermilk so I think that could have been reduced but I Will be
making this again.
thanks so much for the recipe